No edit summary |
mNo edit summary |
||
| (19 intermediate revisions by 5 users not shown) | |||
| Line 5: | Line 5: | ||
{| class="hoverimage" align="center" style="text-align:center;" |
{| class="hoverimage" align="center" style="text-align:center;" |
||
| ⚫ | |||
| style="padding: 5px"|[[File:PanamaLands.gif|150px|link=Panama Beach]] |
| style="padding: 5px"|[[File:PanamaLands.gif|150px|link=Panama Beach]] |
||
| ⚫ | |||
| style="padding: 5px"|[[File:MogadishuTransit.png|150px|link=Mogadishu Transit]] |
| style="padding: 5px"|[[File:MogadishuTransit.png|150px|link=Mogadishu Transit]] |
||
| style="padding: 5px"|[[File:FoxriverAsylum2.gif|150px|link=Foxriver Prison]] |
| style="padding: 5px"|[[File:FoxriverAsylum2.gif|150px|link=Foxriver Prison]] |
||
| style="padding: 5px"|[[File:TerminalFalls.gif|150px|link=Terminal Decay]] |
| style="padding: 5px"|[[File:TerminalFalls.gif|150px|link=Terminal Decay]] |
||
|- |
|- |
||
| ⚫ | |||
| style="padding: 5px"|Panama Beach |
| style="padding: 5px"|Panama Beach |
||
| ⚫ | |||
| style="padding: 5px"|Mogadishu Transit |
| style="padding: 5px"|Mogadishu Transit |
||
| style="padding: 5px"|Foxriver Prison |
| style="padding: 5px"|Foxriver Prison |
||
| Line 20: | Line 20: | ||
| style="padding: 5px"|[[File:Casius Thumb.png|150px|link=Casius Outpost]] |
| style="padding: 5px"|[[File:Casius Thumb.png|150px|link=Casius Outpost]] |
||
| style="padding: 5px"|[[File:VictoriaBoats.gif|150px|link=Victoria Harbor]] |
| style="padding: 5px"|[[File:VictoriaBoats.gif|150px|link=Victoria Harbor]] |
||
| ⚫ | |||
| style="padding: 5px"|[[File:CafeArena.png|150px|link=Café County]] |
| style="padding: 5px"|[[File:CafeArena.png|150px|link=Café County]] |
||
| ⚫ | |||
|- |
|- |
||
| style="padding: 5px"|Bouri Rig 71 |
| style="padding: 5px"|Bouri Rig 71 |
||
| style="padding: 5px"|Casius Outpost |
| style="padding: 5px"|Casius Outpost |
||
| style="padding: 5px"|Victoria Harbor |
| style="padding: 5px"|Victoria Harbor |
||
| ⚫ | |||
| style="padding: 5px"|Café County |
| style="padding: 5px"|Café County |
||
| ⚫ | |||
|- |
|- |
||
| − | | style="padding: 5px"|[[File: |
+ | | style="padding: 5px"|[[File:Nom.png|150px|link=No Mercy Hospital]] |
| ⚫ | |||
| style="padding: 5px"|[[File:Last Harvest.png|150px|link=Last Harvest]] |
| style="padding: 5px"|[[File:Last Harvest.png|150px|link=Last Harvest]] |
||
| style="padding: 5px"|[[File:FarmingHouse.png|150px|link=Farmhouse]] |
| style="padding: 5px"|[[File:FarmingHouse.png|150px|link=Farmhouse]] |
||
| style="padding: 5px"|[[File:ZeroKelvinStation.png|150px|link=Zero Kelvin Station]] |
| style="padding: 5px"|[[File:ZeroKelvinStation.png|150px|link=Zero Kelvin Station]] |
||
| ⚫ | |||
|- |
|- |
||
| − | | style="padding: 5px"| |
+ | | style="padding: 5px"|No Mercy Hospital |
| ⚫ | |||
| style="padding: 5px"|Last Harvest |
| style="padding: 5px"|Last Harvest |
||
| style="padding: 5px"|Farmhouse |
| style="padding: 5px"|Farmhouse |
||
| style="padding: 5px"|Zero Kelvin Station |
| style="padding: 5px"|Zero Kelvin Station |
||
| ⚫ | |||
|- |
|- |
||
| − | | style="padding: 5px"|[[File: |
+ | | style="padding: 5px" |[[File:CityOfTokyos.gif|150px|link=Tokyo, Japan]] |
| ⚫ | |||
| ⚫ | |||
| style="padding: 5px" |[[File:BlackfieldCity.gif|150px|link=Blackfield Station]] |
| style="padding: 5px" |[[File:BlackfieldCity.gif|150px|link=Blackfield Station]] |
||
| style="padding: 5px" |[[File:StudHarvestII.png|150px|link=Stud Harvest II]] |
| style="padding: 5px" |[[File:StudHarvestII.png|150px|link=Stud Harvest II]] |
||
| ⚫ | |||
| ⚫ | |||
|- |
|- |
||
| ⚫ | |||
| ⚫ | |||
| style="padding: 5px" |Tokyo, Japan |
| style="padding: 5px" |Tokyo, Japan |
||
| style="padding: 5px" |Blackfield Station |
| style="padding: 5px" |Blackfield Station |
||
| style="padding: 5px" |Stud Harvest II |
| style="padding: 5px" |Stud Harvest II |
||
| ⚫ | |||
| ⚫ | |||
|- |
|- |
||
| − | | style="padding: 5px" |[[File: |
+ | | style="padding: 5px" |[[File:Chaos_%282%29.png|150px|link=Campfire Chaos II]] |
| ⚫ | |||
| ⚫ | |||
| style="padding: 5px" |[[File:NewFallcoast.gif|150px|link=New Bloxcoast II]] |
| style="padding: 5px" |[[File:NewFallcoast.gif|150px|link=New Bloxcoast II]] |
||
| style="padding: 5px" |[[File:MetroSubway.png|150px|link=Subway]] |
| style="padding: 5px" |[[File:MetroSubway.png|150px|link=Subway]] |
||
| ⚫ | |||
| ⚫ | |||
|- |
|- |
||
| − | | style="padding: 5px" | |
+ | | style="padding: 5px" |Campfire Chaos II |
| ⚫ | |||
| ⚫ | |||
| style="padding: 5px" |New Bloxcoast II |
| style="padding: 5px" |New Bloxcoast II |
||
| style="padding: 5px" |Subway |
| style="padding: 5px" |Subway |
||
| + | | style="padding: 5px" |Toy Factory<br /><font size="1">'''(Christmas)'''</font> |
||
| ⚫ | |||
|- |
|- |
||
| ⚫ | |||
| ⚫ | |||
| style="padding: 5px" |[[File:SewersTemplate2.png|150px|link=Sewers]] |
| style="padding: 5px" |[[File:SewersTemplate2.png|150px|link=Sewers]] |
||
| style="padding: 5px" |[[File:OutSkylines.png|150px|link=Outskirts]] |
| style="padding: 5px" |[[File:OutSkylines.png|150px|link=Outskirts]] |
||
| style="padding: 5px" |[[File:CoastlineMap.png|150px|link=Coastline Clash]] |
| style="padding: 5px" |[[File:CoastlineMap.png|150px|link=Coastline Clash]] |
||
| ⚫ | |||
| ⚫ | |||
|- |
|- |
||
| ⚫ | |||
| ⚫ | |||
| style="padding: 5px" |Sewers |
| style="padding: 5px" |Sewers |
||
| style="padding: 5px" |Outskirts |
| style="padding: 5px" |Outskirts |
||
| style="padding: 5px" |Coastline Clash |
| style="padding: 5px" |Coastline Clash |
||
| ⚫ | |||
| ⚫ | |||
|- |
|- |
||
| − | | style="padding: 5px"|[[File: |
+ | | style="padding: 5px" |[[File:CocoPops.png|150px|link=Coconut Split Stadium]] |
| ⚫ | |||
| ⚫ | |||
| ⚫ | |||
| ⚫ | |||
|- |
|- |
||
| − | | style="padding: 5px" | |
+ | | style="padding: 5px" |Coconut Split Stadium |
| ⚫ | |||
| ⚫ | |||
| ⚫ | |||
| ⚫ | |||
|} |
|} |
||
== '''Greenlight Maps''' == |
== '''Greenlight Maps''' == |
||
These maps aren't for the main game and can only be enabled with a [[VIP Servers|VIP Server]]. |
These maps aren't for the main game and can only be enabled with a [[VIP Servers|VIP Server]]. |
||
| + | |||
| + | These maps are placed here either because they have a slightly lower build quality or they are out of season maps (such as [[Toy Factory]] or [[District III]]). |
||
{| class="hoverimage" align="center" style="text-align:center;" |
{| class="hoverimage" align="center" style="text-align:center;" |
||
| Line 97: | Line 91: | ||
| style="padding: 5px" |[[File:MS Antares.png|150px|link=M.S Antares]] |
| style="padding: 5px" |[[File:MS Antares.png|150px|link=M.S Antares]] |
||
| style="padding: 5px" |[[File:Sunny_%282%29.png|150px|link=Sunny Seaside]] |
| style="padding: 5px" |[[File:Sunny_%282%29.png|150px|link=Sunny Seaside]] |
||
| + | | style="padding: 5px" |[[File:Toy Factory.png|150px|link=Toy Factory]] |
||
| + | | style="padding: 5px" |[[File:SSBoliviar.png|150px|link=S.S. Boliviar]] |
||
|- |
|- |
||
| style="padding: 5px" |Caved In |
| style="padding: 5px" |Caved In |
||
| style="padding: 5px" |M.S Antares |
| style="padding: 5px" |M.S Antares |
||
| style="padding: 5px" |Sunny Seaside |
| style="padding: 5px" |Sunny Seaside |
||
| + | | style="padding: 5px" |Toy Factory<br /><font size="1">'''(Year-round)'''</font> |
||
| ⚫ | |||
| + | |- |
||
| ⚫ | |||
| ⚫ | |||
| ⚫ | |||
| ⚫ | |||
| + | | style="padding: 5px" |[[File:PartyRockTemplate.png|150px|link=Party Rock House]] |
||
| + | |- |
||
| ⚫ | |||
| ⚫ | |||
| ⚫ | |||
| ⚫ | |||
| + | | style="padding: 5px" |Party Rock House |
||
|} |
|} |
||
| Line 159: | Line 169: | ||
== '''Event Maps''' == |
== '''Event Maps''' == |
||
| − | These are maps that are exclusive to events |
+ | These are maps that are exclusive to events. |
These maps are disabled when its respective event ends. |
These maps are disabled when its respective event ends. |
||
| Line 166: | Line 176: | ||
{| class="hoverimage" align="center" style="text-align:center;" |
{| class="hoverimage" align="center" style="text-align:center;" |
||
| − | | style="padding: 5px" |[[File:Boot2016Thumb.png|150px|link=Halloween Bootcamp |
+ | | style="padding: 5px" |[[File:Boot2016Thumb.png|150px|link=Halloween Bootcamp]] |
| style="padding: 5px" |[[File:CK_Thumbnail.png|150px|link=Cake Kingdom]] |
| style="padding: 5px" |[[File:CK_Thumbnail.png|150px|link=Cake Kingdom]] |
||
| style="padding: 5px" |[[File:ChronosQuestButton.png|150px|link=Chronos Quest]] |
| style="padding: 5px" |[[File:ChronosQuestButton.png|150px|link=Chronos Quest]] |
||
| − | | style="padding: 5px" |[[File:Mansionpic2.png|150px|link= |
+ | | style="padding: 5px" |[[File:Mansionpic2.png|150px|link=Pumpkin's Quest]] |
| style="padding: 5px" |[[File:RoY1.png|150px|link=Yeti's Quest]] |
| style="padding: 5px" |[[File:RoY1.png|150px|link=Yeti's Quest]] |
||
|- |
|- |
||
| Line 175: | Line 185: | ||
| style="padding: 5px" |Cake Kingdom |
| style="padding: 5px" |Cake Kingdom |
||
| style="padding: 5px" |Chronos Quest |
| style="padding: 5px" |Chronos Quest |
||
| − | | style="padding: 5px" | |
+ | | style="padding: 5px" |Pumpkin's Quest |
| style="padding: 5px" |Yeti's Quest |
| style="padding: 5px" |Yeti's Quest |
||
| |
| |
||
Revision as of 08:41, 24 June 2020
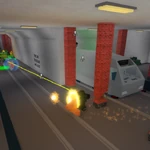
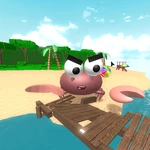
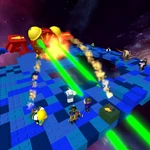
In-Game Maps
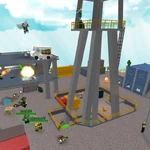
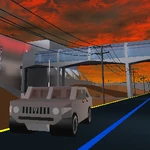
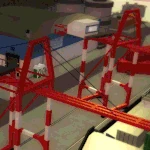
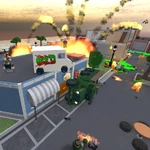
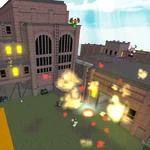
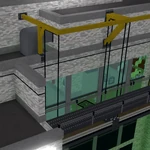
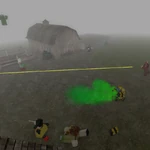
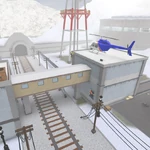
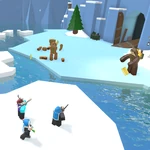
Reason 2 Die Awakening offers a variety of maps which provide unique gameplay and are the main environment where survivors attempt to complete certain objectives.
The main R2DA maps as of now are as follows.
|
|
|

|
|
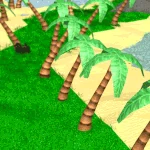
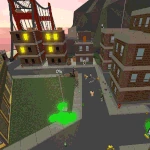
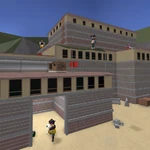
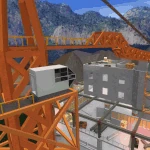
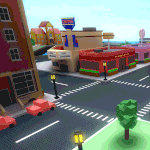
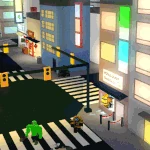
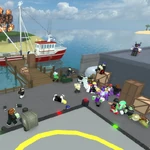
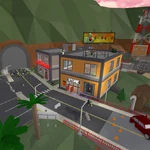
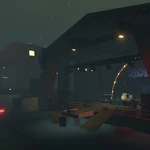
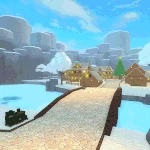
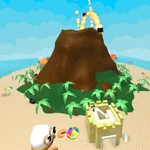
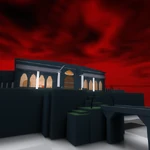
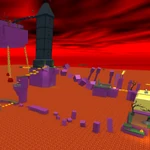
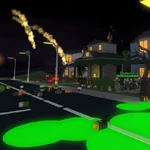
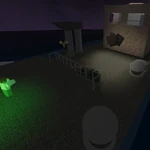
| Panama Beach | 1930's Kingstreet | Mogadishu Transit | Foxriver Prison | Terminal Decay |
|
|
|
|
|
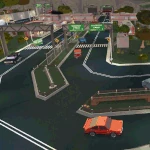
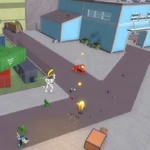
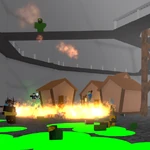
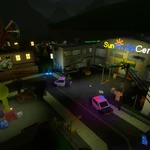
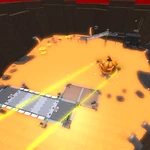
| Bouri Rig 71 | Casius Outpost | Victoria Harbor | Café County | The Complex |
|
|

|
|
|
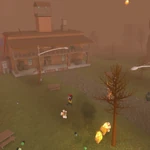
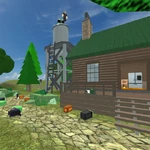
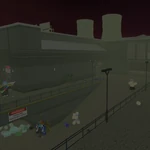
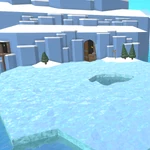
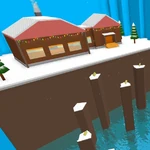
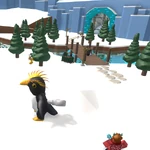
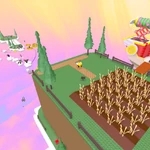
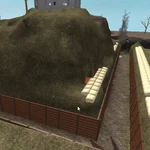
| No Mercy Hospital | Last Harvest | Farmhouse | Zero Kelvin Station | Shoot'em Up Town |
|
|
|
|
|
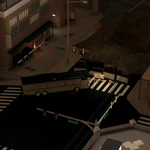
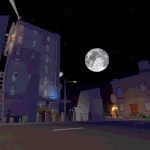
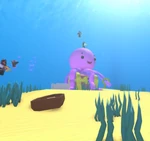
| Tokyo, Japan | Blackfield Station | Stud Harvest II | Blox Harbor | Portland |
|
|
|
|
|
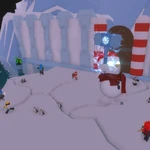
| Campfire Chaos II | New Bloxcoast II | Subway | Toy Factory (Christmas) |
Dead Plaza II |
|
|
|
|
|
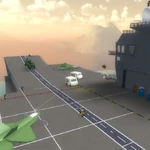
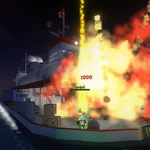
| Sewers | Outskirts | Coastline Clash | Newhaven Port | U.S.S. Zurius |
| ||||
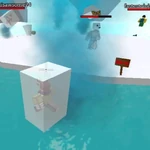
| Coconut Split Stadium |
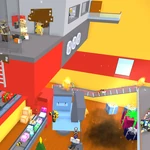
Greenlight Maps
These maps aren't for the main game and can only be enabled with a VIP Server.
These maps are placed here either because they have a slightly lower build quality or they are out of season maps (such as Toy Factory or District III).
|

|

|
|
|
| Caved In | M.S Antares | Sunny Seaside | Toy Factory (Year-round) |
S.S. Boliviar |
|
|
|
|

|
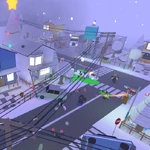
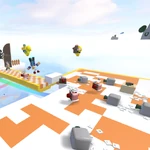
| District III | A Winter Wonderland | Suburbs | Outpost 21 | Party Rock House |
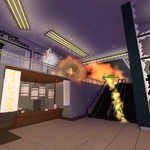
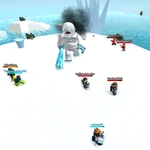
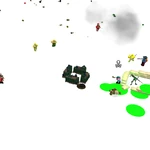
Boss Arenas
These are special maps that can only be played in the Boss gamemode.
Time is ticking and the maps to fight these bosses on are almost always not permanent.
|
|

|

|
|
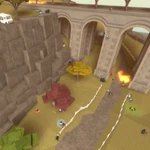
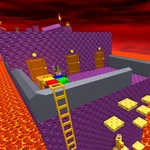
| Yeti's Cave | King Crab | Pumpkinator's Revenge /Lord Pumpkin Jr. |
Rhi-snow Territory | Chronos Dimension |
| Christmas 2015 | Release 2016 | Halloween 2016 Halloween 2017 Halloween 2019 |
Christmas 2016 | 100th Version Celebration |
|
|
|
|
|
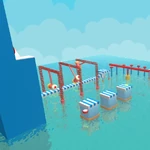
| Return of the Yeti | King Cherrycake | King Crab II | Pumpkinator's Stronghold | Forgotten Cave |
| Christmas 2017 | King Cake Celebration | Summer 2018 | Halloween 2018 | Christmas 2018 |

|
|
| ||
| Duckland | Papa Squid's Treasure | Gate Keeper II | ||
| Easter 2019 | Aquatic 2019 | Christmas 2019 |
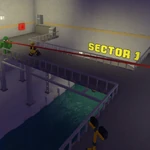
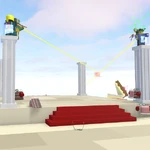
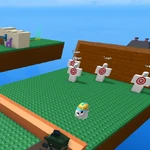
Event Maps
These are maps that are exclusive to events.
These maps are disabled when its respective event ends.
For all intents and purposes, even if Chronos Quest and King Cherrycake's Quest are not considered an event, they are being listed here.
|
|
|
|
| |
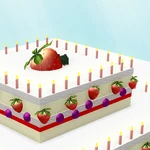
| Halloween Bootcamp | Cake Kingdom | Chronos Quest | Pumpkin's Quest | Yeti's Quest | |
| Halloween 2016 | Christmas 2016 Christmas 2017 Christmas 2018 Christmas 2019 |
100th Version Celebration | Halloween 2017 | Christmas 2017 | |
|
|
|
|
| |
| King Cherrycake's Quest | R2DA Wipeout | Pumpkinator's Bootcamp | Trick O' Threat Town | Snowy Snowy Hills | |
| King Cake Celebration | Summer 2018 | Halloween 2018 | Halloween 2018 Halloween 2019 |
Christmas 2018 | |
|

|

|
| ||
| Duck's Quest | R2DA Wipeout II | Boo's Holdout | High Bye Die | ||
| Easter 2019 | Aquatic 2019 | Halloween 2019 | Christmas 2019 |
Secret Maps
These are maps that can only be accessed under special circumstances.
|
|
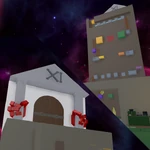
| Void | Tutorial Island 2.0 |
Removed Maps
These are R2DA maps that were available on R2DA at one point but were later removed due to various reasons. The only exception to this is Trenches, as it was only playable in Debug and thus was never released to the general public.
|
|
|

|
| XelPixels HQ | Porta Coeli II | Trenches | Tutorial Island |